How To Solder?
Tinning The Soldering Tip
Before use, a new soldering tip, or one that is very dirty, must be tinned. "Tinning" is the process of coating a soldering tip with a thin coat of solder. This aids in heat transfer between the tip and the component you are soldering, and also gives the solder a base from which to flow from.
Step 1: Warm Up The Iron
Warm up the soldering iron or gun thoroughly. Make sure that it has fully come to temperature because you are about to melt a lot of solder on it. This is especially important if the iron is new because it may have been packed with some kind of coating to prevent corrosion.
Step 2: Prepare A Little Space
While the soldering iron is warming up, prepare a little space to work. Moisten a little sponge and place it in the base of your soldering iron stand or in a dish close by. Lay down a piece of cardboard in case you drip solder (you probably will) and make sure you have room to work comfortably.
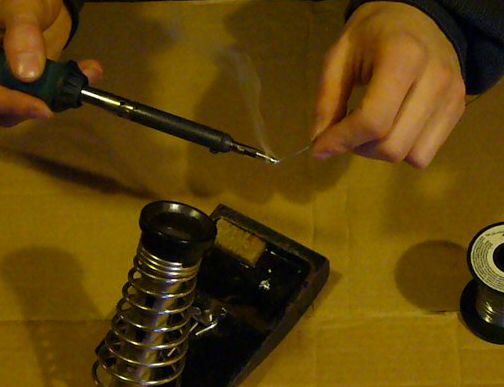
Step 3: Thoroughly Coat The Tip In Solder
Thoroughly coat the soldering tip in solder. It is very important to cover the entire tip. You will use a considerable amount of solder during this process and it will drip, so be ready. If you leave any part of the tip uncovered it will tend to collect flux residue and will not conduct heat very well, so run the solder up and down the tip and completely around it to totally cover it in molten solder.
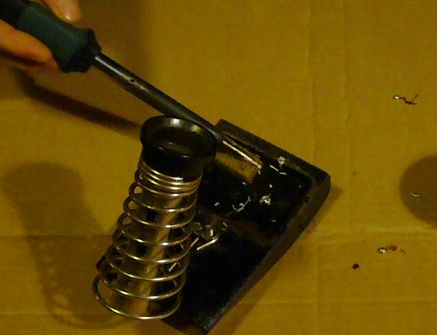
Step 4: Clean The Soldering Tip
After you are certain that the tip is totally coated in solder, wipe the tip off on the wet sponge to remove all the flux residue. Do this immediately so there is no time for the flux to dry out and solidify.
Step 5: You're Done!
You have just tinned your soldering tip. This must be done anytime you replace the tip or clean it so that the iron maintains good heat transfer.
No comments:
Post a Comment